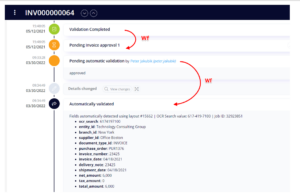
Workflows determine the flow of the transaction. In other words, what is needed to move the Transaction to the next step, who can do it, and how. For example, in Workflows, we can set up that after the Invoice is received, it automatically goes to validation Status, or that approver can approve the invoice and send it to the next step, and so on.
Accessing Workflows
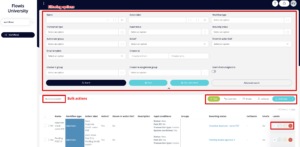
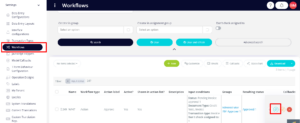
After accessing Workflows from the left menu, you can see various options. On the top of the screen, you will see filter which will help you to always find the Workflow you need to work with. The filter contains all of the available fields, you can show them all by clicking on “Advanced search” button. Below the filter you can see the list of created Workflows with various buttons and functions:
- Bulk actions – allows you to perform an action on various Workflows all at once – edit, activate, deactivate, change Authorized Groups, Filter Transactions, Model Callbacks, Form Behaviours
- New – manually creates new Workflow from scratch
- Customize – customizes the columns you see in the list of Workflows
- Emails – shows a list of all e-mails set up in existing Workflows
- Callbacks – shows a list of all Model Callbacks set up in existing Workflows
- Download – downloads the list of all Workflows
- Matching transactions – shows list of all Transactions that match the input conditions of this particular Workflow
- Duplicate – creates a new Workflow by duplicating this particular one
- Edit – allows you to edit all attributes of this particular Workflow
- Delete – deletes this particular Workflow
How to Create New Workflow
There are three different ways how to create new Workflow.
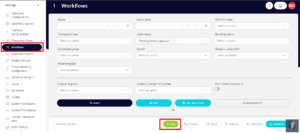
1. New – go to Workflows tab, click on “New” and start creating new Workflow from scratch
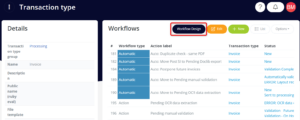
3. Workflow Design – learn more about Workflow Design in our separate article
Continue to our Workflows 2 article where we will continue with the general settings.