When encountering an issue or requiring assistance while using Flowis, creating a support ticket is a simple and effective way to get the help you need. In this guide, we’ll walk you through the step-by-step process of submitting a support request directly through your Flowis instance. By providing clear and detailed information, you’ll ensure that the support team can resolve your issue as efficiently as possible.
- Open Flowis
Navigate to your Flowis instance and click the question mark button in the upper right corner.

- Click Contact support
Click the “Contact support” button to raise a request.

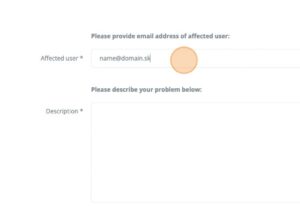
- Put in your email
If you are raising a request from a login screen (you are NOT logged in), insert your email address into the “Affected user” field. If you are logged in this field will be automatically pre-filled with your email address.
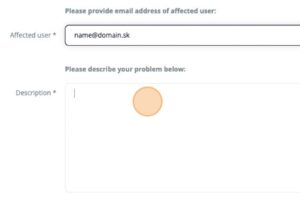
- Provide a description
Click into the “Description” field and provide as detailed issue description as possible. If it is related to a specific case, please insert also links to this problem.

- Complete the ticket
Click the “Create issue” button to submit your request.

And that’s it! You’ve successfully submitted a support ticket in Flowis. By following these steps, you’ve ensured your request is routed to the right team with all the necessary details for quick resolution. If you need further guidance, feel free to explore additional resources in Flowis or reach out to the support team for further assistance. We’re here to help!